

Auckland's Timber Joinery Specialists Since 2017
Who We Are
Next Level Joinery builds timber windows and doors for Auckland builders and homeowners, with a particular focus on heritage villas and bungalows. Founders Adam Beswick and Brendon Sowerby set the business up in 2017 around that specialism, not as a general joinery shop that happens to do heritage work on the side.
That focus means the systems in the workshop are built around period-accurate profiles, resource consent requirements, and the detail that character homes demand. It's also why the business chose timber over aluminium or uPVC from day one: timber can be repaired and refinished for decades, which matters when you're matching joinery to a hundred-year-old home.
Next Level Joinery is a Registered Master Joiners member and JMF New Zealand certified, operating from 7 Goldfield, Wairau Valley, Auckland.
Our Specialism: Heritage Villa & Bungalow Joinery
Heritage joinery is where Next Level Joinery spends most of its time, and it's the work the team is best known for. Villas and bungalows come with their own rules: original profiles to match, consent conditions to satisfy, and no room for a joiner to guess.
Builders working on character homes bring Next Level Joinery in because the drawings arrive detailed enough to avoid rework, and because the finished joinery matches what resource consent asked for the first time. That's less about craftsmanship for its own sake and more about a builder not having to manage the joinery supplier on top of everything else on site.
It's also where timber earns its keep. A villa restored with aluminium or uPVC joinery stops looking like a villa. Timber, matched to the original profile, doesn't.

Credentials & Certifications
Three credentials back this business, and all three are assessed by someone other than Next Level Joinery itself.
Industry Membership
Registered Master Joiners
This isn't an open membership. It requires a workshop to meet set standards for trade practice, and it gives builders a body to check if they ever need to.
Manufacturing Standard
JMF New Zealand Certified
JMF sets manufacturing standards specific to timber joinery in New Zealand. Certification means the joinery leaving the workshop has been made to that standard, not just to what looks right.
Manufacturer Status
Accoya Approved Manufacturer
Accoya is a modified timber with a documented 50-year above-ground durability rating. Approved manufacturer status means Next Level Joinery has been assessed by Accoya to work with the material correctly, not just supplied it.
How We Work With Builders
A joinery delay holds up every trade behind it, so the process is built to remove that risk at each stage.
It starts with drawings detailed enough to check against consent documents and hand straight to other trades - no translating required. Quoting breaks costs down by item, so nothing on the final invoice is a surprise. Once a job is confirmed, the team works to the timeline agreed at quoting.
ABOUT US
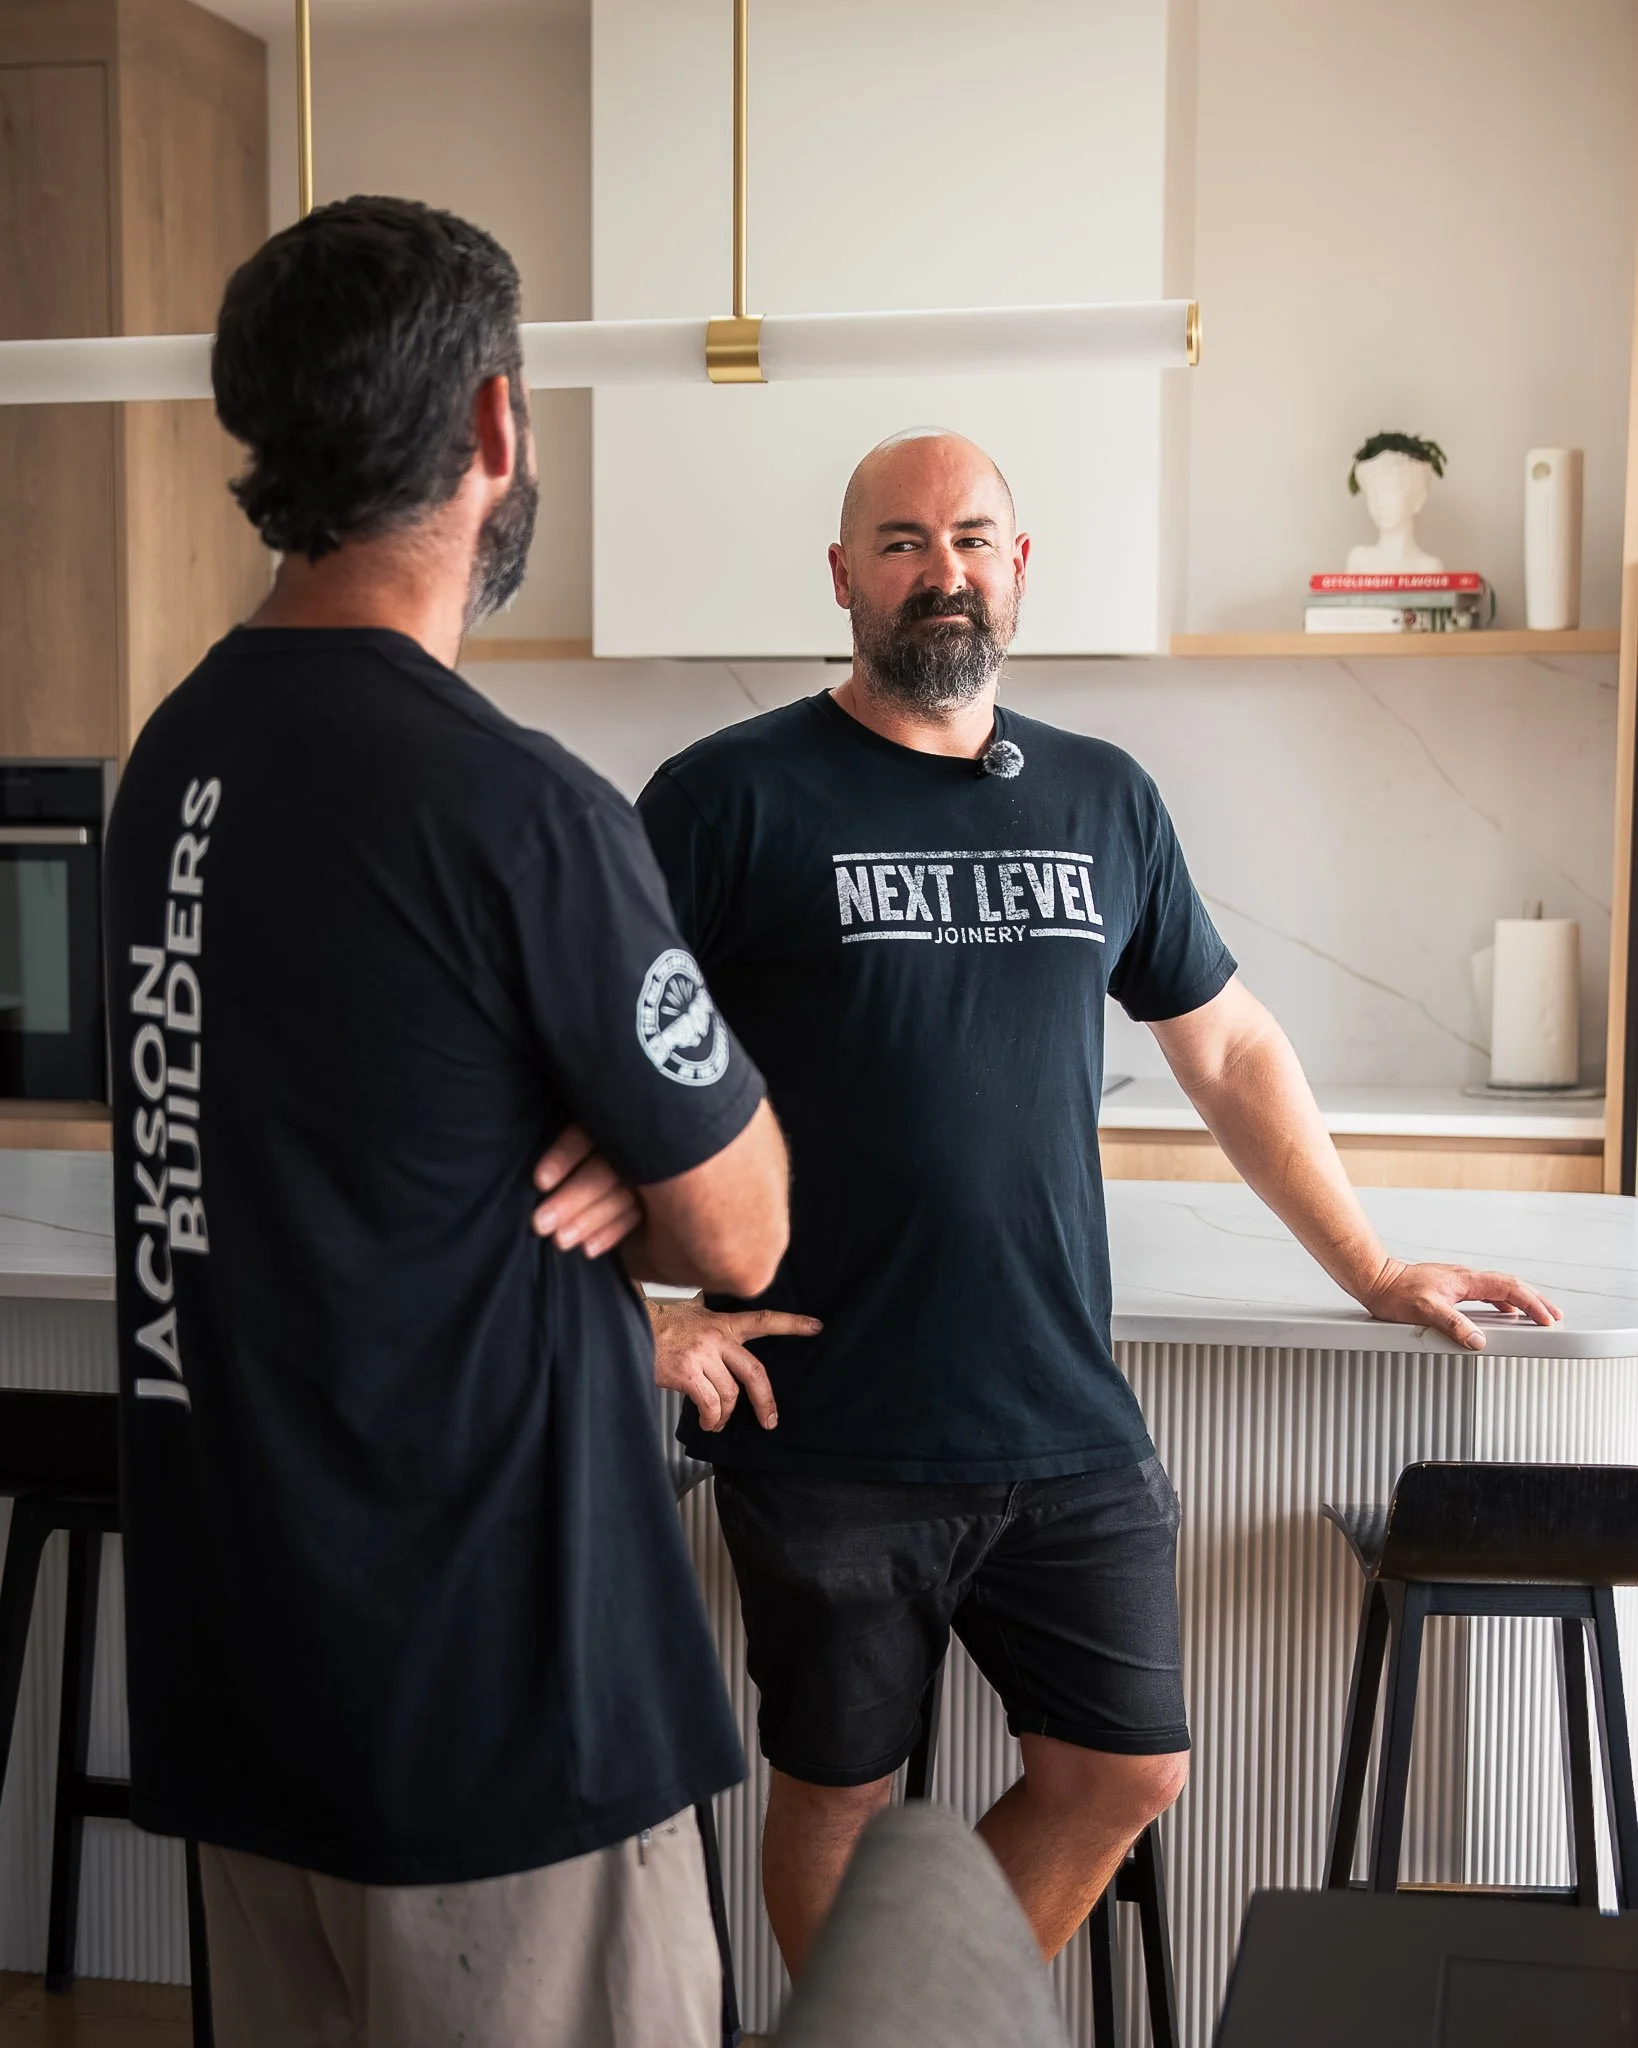
our team
Next Level Joinery is led by Adam Beswick and Brendon Sowerby, who set up the business in 2017 and still run the day-to-day operation from the Wairau Valley workshop.
Every job gets detailed drawings, direct communication from the team, and joinery built to Master Joiners and JMF standard - regardless of who's on the tools that week.
Our Valued Partners
Next Level Joinery works with a small number of suppliers, chosen for what they add to the finished joinery rather than for their name recognition.

Modified Timber
Accoya
Modified timber with a 50-year above-ground durability rating, used where longevity matters most.
Ventilation Hardware
Breezway
Louvre window hardware, used for joinery that needs controlled ventilation without compromising the timber frame.

Sustainable Timber
Abodo
Sustainably grown New Zealand timber, an option for clients who want a lower-impact material without moving away from timber.

Pivot Door Hardware
FritsJurgens
Pivot door hardware, used on feature entries and larger openings where a hinge alone won't carry the weight or the look.
Get in Touch


We’ll take a look at your plans or photos, prepare a quote and walk you through every step of the process.
FAQS
Frequently Asked Questions
-
Next Level Joinery is based in Wairau Valley, Auckland, and services the wider Auckland region directly. The team also takes on projects nationwide across New Zealand.
-
A Master Joiner is a joinery business that's a registered member of Master Joiners New Zealand, a trade body that sets standards for joinery manufacture. Membership means a workshop has been assessed against those standards, giving builders and homeowners an external reference point rather than just the company's own claims.
-
JMF New Zealand certification is a manufacturing standard specific to timber joinery. It confirms the joinery has been produced to a set specification, covering things like construction method and material use, rather than just passing a visual inspection.
-
Timber joinery, made properly and maintained, can last 50 to 80 years and be repaired or refinished rather than replaced. uPVC has a fixed lifecycle and aluminium can corrode or lose integrity over time, particularly in harsher conditions. Over the life of a home, that makes timber the more cost-effective option.
-
Next Level Joinery works with both. Builders are the primary client base, but homeowners — particularly those restoring villas and bungalows — work directly with the team as well.
-
Accoya is modified timber with a documented 50-year above-ground durability rating. Next Level Joinery is an Accoya Approved Manufacturer, meaning the workshop has been assessed by Accoya to work with the material to the standard it requires.